Parkersburg W.V. 26101
E-mail us: [email protected]
MONDAY-FRIDAY 7AM - 4PM EMERGENSIES BASED ON AVAILABILITY

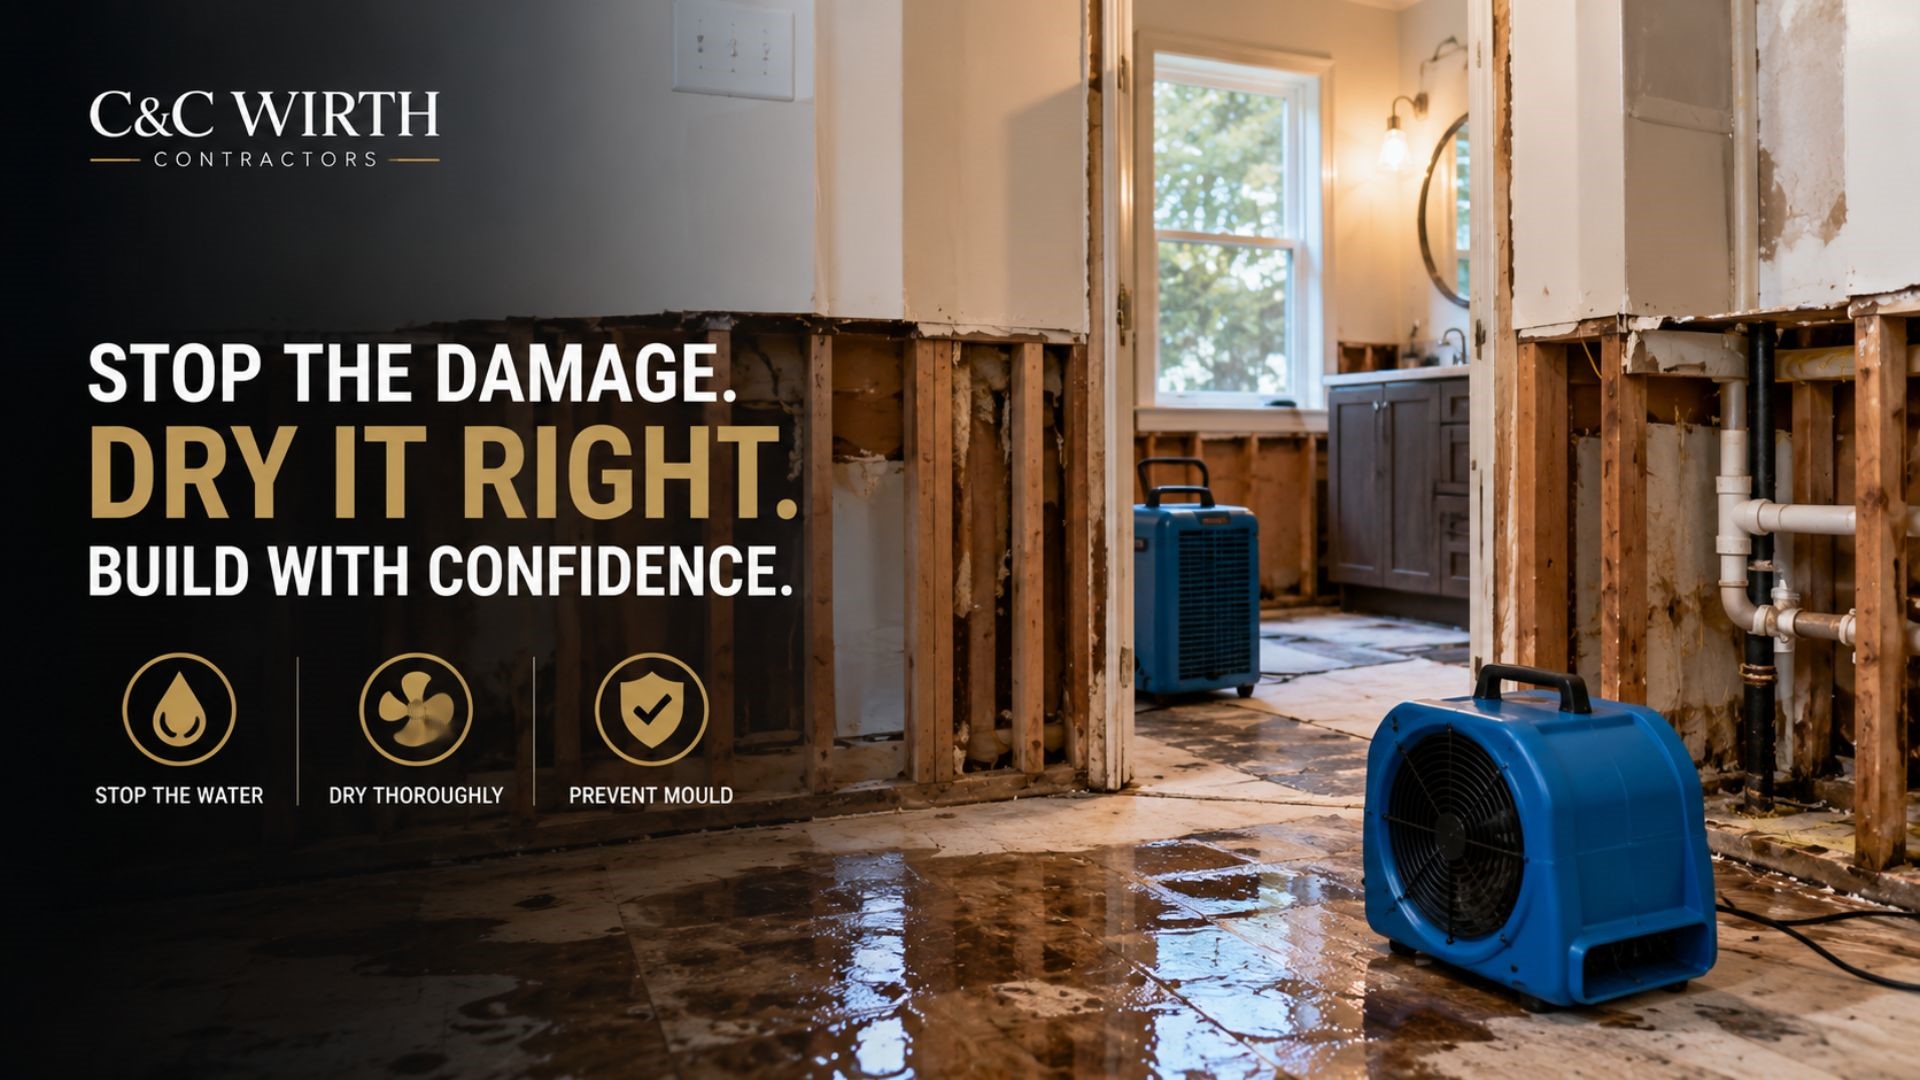
Hello West Virginia residents! Let’s address one of the common yet very problematic issues during home renovation: water damage. Sometimes you’re in the middle of a renovation project and boom, incidents like burst pipes can happen all of a sudden (talk about bad timing, huh). When there’s a sudden water flood, wet patches on newly installed drywall, or a strange damp odour, these are the early indications of water damage during renovation.
Dealing with water damage during renovations requires professional attention to limit further damage to your property. Today, we are sharing precise steps professional remodeling contractors follow to minimise the damage and stop mould from growing. Whether you are dealing with basement flooding, bathroom leaks or plumbing issues, this step-by-step guide will help you finish your project with less damage.
Water damage is literally the most common or anticipated issue that people (homeowners or reno professionals) run into during their home upgrades. According to recent figures by Hippo, 41% of homeowners experienced non-flood water damage, and 21 % reported flood-related damage during last year’s reno projects.
Mould can start growing quickly after water gets into your home:
So we can clearly see that water-related issues make up a big chunk of what homeowners file insurance claims for. It ranks as the second biggest reason for property damage claims. The majority of water problems come from everyday household plumbing issues instead of major root leaks, broken pipes, overflowing toilets, and clogged drains. Renovations make your home more at risk because you’ve opened up walls, taken off protective coverings, and might have turned off or disconnected pipes temporarily. Even a single mistake during renovation can change your dream home project into an expensive and time-consuming repair job.
It’s the first critical stage after discovering water damage during renovation to limit the mould damage. The goal is to minimise the damage as much as possible. Pause your renovation work for the moment and make controlling the water damage your priority. Water has fast movement, so every hour of delay can make this problem worse to fix.
It’s the very first action because safety comes before everything else. It involves shutting off water and power to prevent more flooding or electrical dangers. Your priority is to safely turn off the main water supply to stop the leak and cut power to the wet area to avoid shock or fire risks. Never try to handle electrical outlets or switches near water yourself; get a professional if you’re not sure. Keeping water flowing or electricity on in the wet area can lead to serious structural weakening, fire risks, or harm to people. Taking these steps quickly protects both the building and everyone involved.
This step focuses more on getting rid of any standing or pooled water as fast as possible. Quick extraction prevents water from soaking deeper into the floors, walls, and other materials. So, be a sport and remove as much water as you can right away using pumps for big puddles, shop vacuums for floors or carpets, and mops or towels for leftover damp spots. Acting within the first few hours limits the chance that further water can spread. Delaying water removal can make it worse as it quickly gets into wood, drywall, and insulation. The longer water sits, the harder and more expensive it gets for you to fix the damage.
Our next step involves wet materials that cannot be saved. You might think it’s not that important, but it is if you want to stop the damage. Cutting out your soaked drywall, pulled-out insulation, damaged laminate flooring, and baseboards, as these materials can hold water and won’t let that space dry properly. Taking out wet materials stops the damage from spreading and keeps mould from forming inside those little spaces.
Safety Warning: If the water contains sewage, flood contaminants, or is considered “black water,” never handle it yourself. Contact professional restoration experts right away for safety and proper cleanup.
Trapped moisture is the primary cause of mould and rot. Moisture can exist within the surface layers, within wall studs, subflooring and within run-in studs even though the surface appears dry.
Air exchange has some benefits, but should be done carefully:
One of the contractor’s differences: Non-contractor fans cannot suck the moisture out of wood. You’ll need the right equipment:
Dry ice blasters: produce a powerful air force that removes carbon dioxide.
Water blasters: include powerful, high-velocity air movers with water capability.
Liquid carbon dioxide blasters: remove the CO2 using liquid CO2.
Commercial-grade dehumidifiers: remove water from air and materials.
Household fans only dry surfaces. This is achieved by commercially available air movers and dehumidifiers that extract moisture from within the wood, thus minimising the potential for a hidden mould problem.
Drying Timeline by Damage Level:
| Damage Level | Equipment Needed | Days to Dry | Moisture Target |
| Minor | Fans + 1 dehumidifier | 1–2 | <15% |
| Moderate | 2+ air movers + 2 dehumidifiers | 3–5 | <15% |
| Severe | Commercial fleet | 5–7+ | <15% |
Pros: If you still have moisture above 15% after 3 drying days, stop and hire a restoration professional ASAP, as it means you have mould in your space.
The third phase in the reconstruction is to ensure that water does not return. The third phase of reconstruction is to make sure that water does not re-enter.
Ablation even after the tree has been completely dried and treated for mould.
Structures may be rebuilt once completely dry, but not all the following is to be taken lightly:
Remove all fungal spores in the soil before they reproduce:
If the mould spores are not killed, mould can regrow inside walls.
This treatment is ATP-producing, i.e. it builds a protective layer.
Don’t patch; replace:
It provides structural strength without the need for an entire set of walls to be removed.
Make sure that leaks don’t seep through again:
Verify the correct safety before completing:
Some situations require professional expertise. Don’t risk it if you see these signs:
| Sign | Why You Need Pros |
| Water is contaminated (sewer, flood, black water) | Health hazard requires special equipment and safety protocols |
| Moisture stays >15% after 3 days of drying | Professional-grade equipment needed to extract hidden moisture |
| Structural wood is soft/spongy | Structural integrity compromised; requires engineering assessment |
| Electrical systems were exposed to water | Fire hazard; licensed electrician must verify safety |
| You’re unsure about safety (utilities, stability) | Professional assessment prevents injury and further damage |
We have dealt with water damage crises for over 19 years, as a business, at C&C Wirth Contractors in West Virginia, Ohio and Idaho. Our team’s key attitude to each project is:
Superior Service Promise: Transparency, in-depth cleanup, and honest, head-to-head communication at every step.
Clear pricing: An itemised price statement that’s transparent and has no hidden costs involved.
Reliable communication: Schedules with a high degree of reliability and a quick reply time.
Uninterrupted customer satisfaction: From the first customer consultation to the finish.
Request a free quote with C&C Wirth Contractors, and we’ll see how the damage has been done, develop a realistic estimate of the timeline and help get your project back on track without any obligation.
C&C Wirth Contractors is known for its family-owned operations that deliver quality, reliability and service oriented to its customers throughout West Virginia. Creating comfortable and functional environments that enhance your design knowledge and years of hands-on experience in our team, which combines.
Our Commitment:
Built for Success: Nearly 20 years of worthy service to homeowners.
No Value Surprise: Upfront price breakdowns and no hidden charges.
Free Consultations: Thorough consultation based on your objectives that is non-coercive and non-obligatory.
Superior Craftsmanship: No compromises on quality; clean up after each phase!
Honest Communication: From Consultation to completion:
When it comes to water damage risks, these are the facts WV, Ohio & Idaho homeowners should be aware of.
Basement flooding of hillside homes from heavy rainfall and runoff.
Recent example: During May 2026, a construction site in the local data centre was compromised, flooding neighbouring Mason County districts with water and mud.
Historic homes with older plumbing run a risk of pipes bursting.
The risk of flooding in West Virginia is quite high, as nearly 2,300 flood events led to a minimum of $342 million in damages since 2005.
Water leaks in bathrooms are bad for hardwood floors.
Sewer backups are often seen in older urban areas where the sewer system or infrastructure is old and dilapidated.
Leaks around water heaters and washing machines that are leaking due to age or similar factors
During winter transitions, snowmelt causes roof leaks. From freezing temperatures, pipes pop up in uninsulated regions. Pine needles, debris and whatever gets stuck in the gutters result in seepage.
Why do you need local professionals? A basement in West Virginia needs different waterproofing than a bathroom in Idaho. Local contractors are knowledgeable about local building codes and climate challenges.
Call C&C Wirth Contractor today for a complimentary consultation. We’ll:
Reach out to our team today; we’ll help to stop the damage, dry safely, and rebuild with proper waterproofing protection in place. Our team follows contractor-level water damage mitigation protocols, and our approach is based on industry-standard practices.
The growth process starts after 24-48 hours in the event that moisture exceeds 15%. This is why it is important to get rid of it in the first week.
No. Only once it is dry, along with mould elimination. Drying before renovation will result in mould appearing after some weeks.
3-7 days if using professional equipment. If it is minor, then 1-2 days; moderate — 3-5 days; and severe, 5-7+ days.
Yes. First, you should record all damages, and then inform your agent. Remember that water damage constitutes 28% of claims made by homeowners. Insurance companies usually cover plumbing issues, but not negligence.
To start rebuilding before drying out. It will trap the moisture between the walls, resulting in mould appearing after some weeks and necessitating expensive replacement.